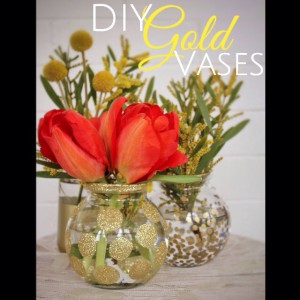
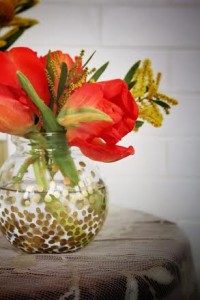
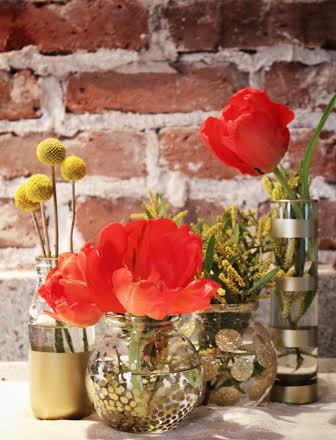
This was a fun and easy project I did during our mini-snow storm this week. I already had most of the supplies on hand because I knew I wanted to do a gold and glitter project at some point. I got all supplies from Hobby Lobby. It would be super great if I got paid to shop there — I’d be rich! Anywho, I found these tiny vases for less than $2 a piece and then they were half off, woot! This $1 DIY glitter craft is perfect for a snow day craft.
Here’s what you’ll need:
Assorted Clear Vases
Mod Podge
Fine Glitter
Metallic Spray Paint
Gold Paint Pen (I used Sharpie Oil Based Metallic/Gold Extra Fine Pen)
Sponges (see photo)
Painter’s Tape — or in my case regular masking tape because my painter’s tape was nowhere to be found. Grrrrr.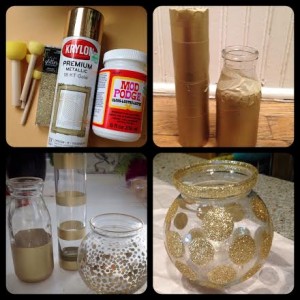

First, I removed all of the stickers (my least favorite thing to do ever) washed and dried each glass and then used the tape for my designs. I decided on stripes for the tall and skinny vase and half gold for the milk-jug-shaped vase. After taping, I went to a well-ventilated area (outside) to spray paint. I put newspaper down and set both vases face down and sprayed them entirely. I sprayed the vases from at least a foot away because I wanted several light coats instead of one thick coat. This prevents drips from forming.
While they were drying and my baby was sleeping, I started making free-hand dot designs on the short round vase. The paint pen dried really fast. Then I went back outside and sprayed 2 more coats of spray paint for a total of 3 coats on the other vases. Once dry, I carefully removed the tape. Overall, I’m very happy with the turnout.
For the final vase, I used the medium-size round sponge, dipped it in the Mod Podge and free-hand designed dots all over. As I was moving around the vase I sprinkled a generous amount of glitter on the wet circles. Once completed, I wanted the rim to have glitter too for added cuteness. So I took the sponge that had residual Mod Podge and ran it all along the rim. Then I sprinkled more glitter to the glue.
Now all of the vases were dry and complete, I just needed flowers. I went to a local florist and picked random flowers. Voila!
Side Note: Each vase should be sealed in order to last a while. The Mod Podge suggested using a thin, clear glaze of acrylic. I found the painted ones don’t really need it as long as I just hand wash them.
Thanks for checking out this DIY! If you have any questions, feel free to comment.

