*

DIY Hand Scrub- With Ingredients From Your Kitchen

Slide1

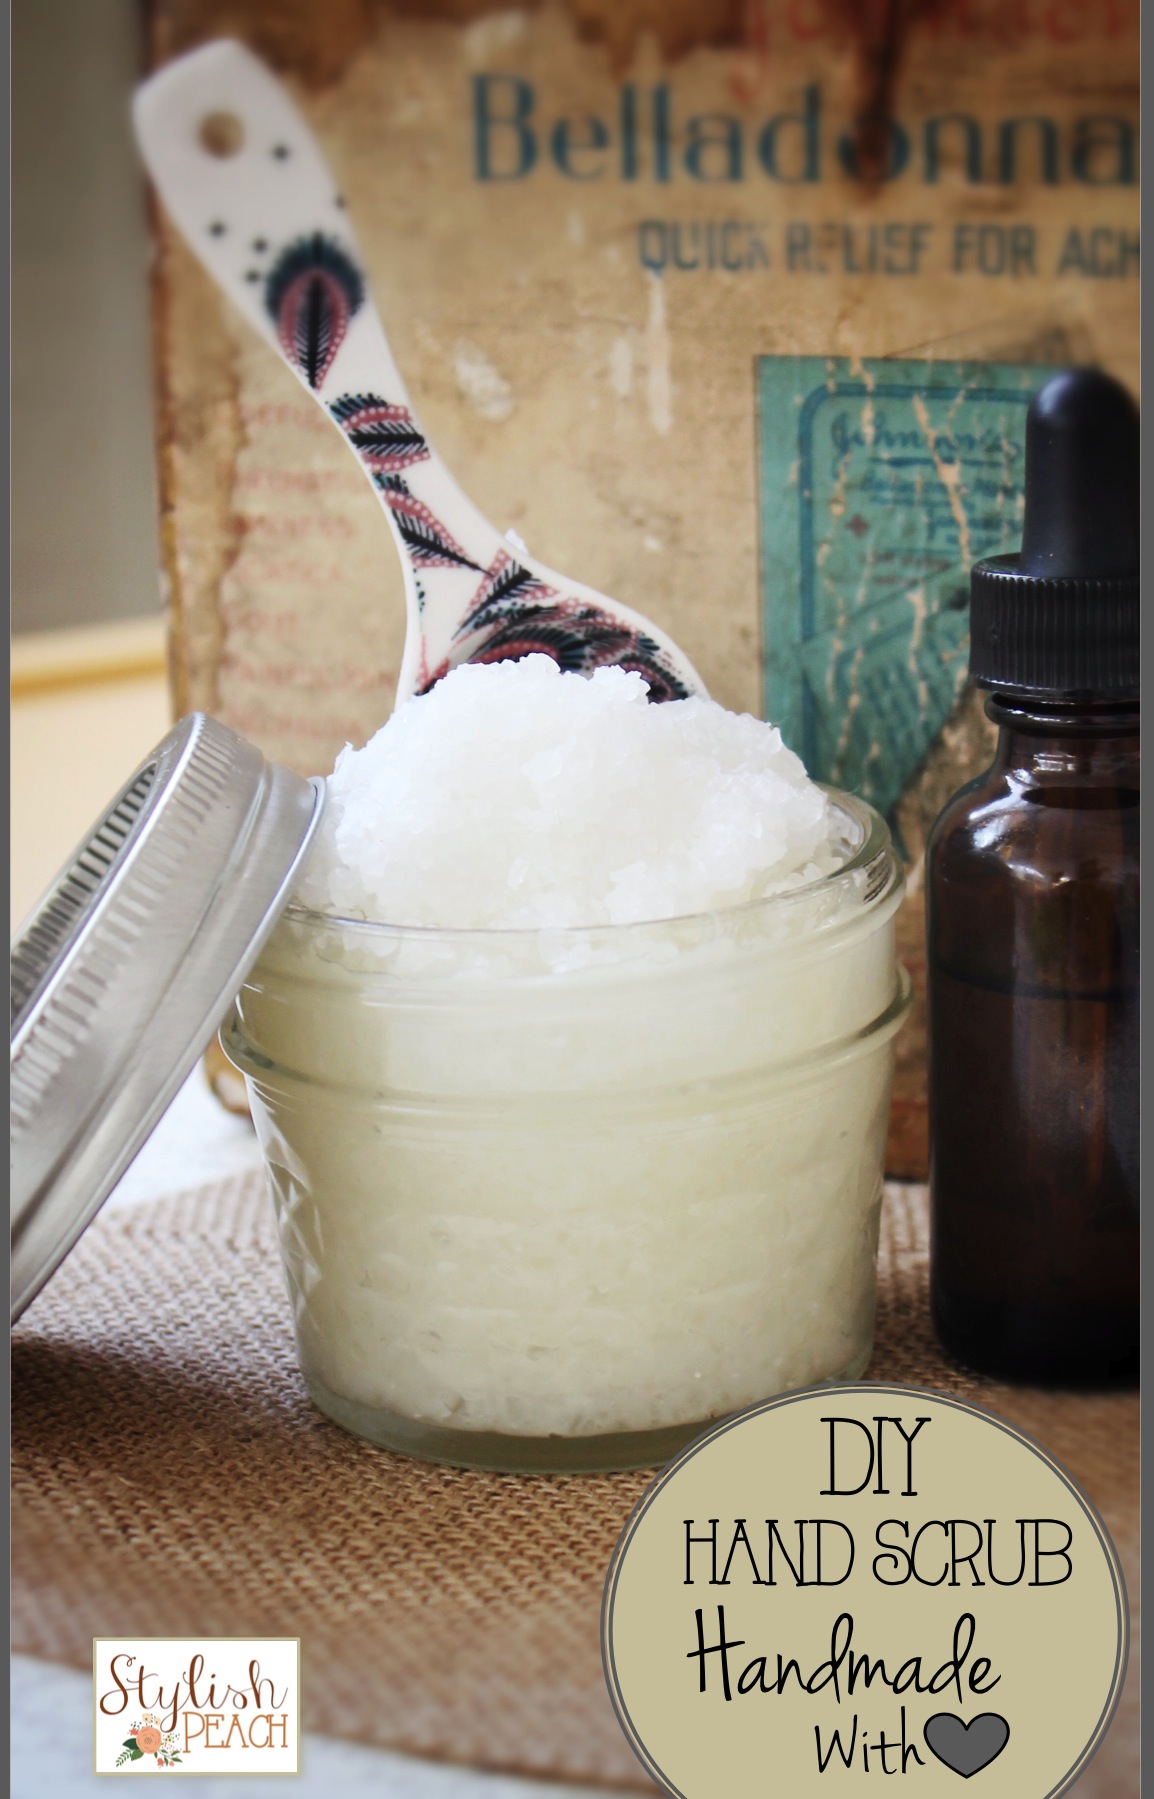
Between Colorado’s cold Winter and my constant hand washing because of the baby, my hands are dry and rough. I decided regular over-the-counter lotions just weren’t cutting it. I perused through my pantry and threw together a few ingredients and viola, I have a hand scrub. After just one use, I am hooked (and so is my husband but shhhh don’t tell anyone ;). Here is the super easy hand scrub recipe from common pantry ingredients.

Slide2


Ingredients:
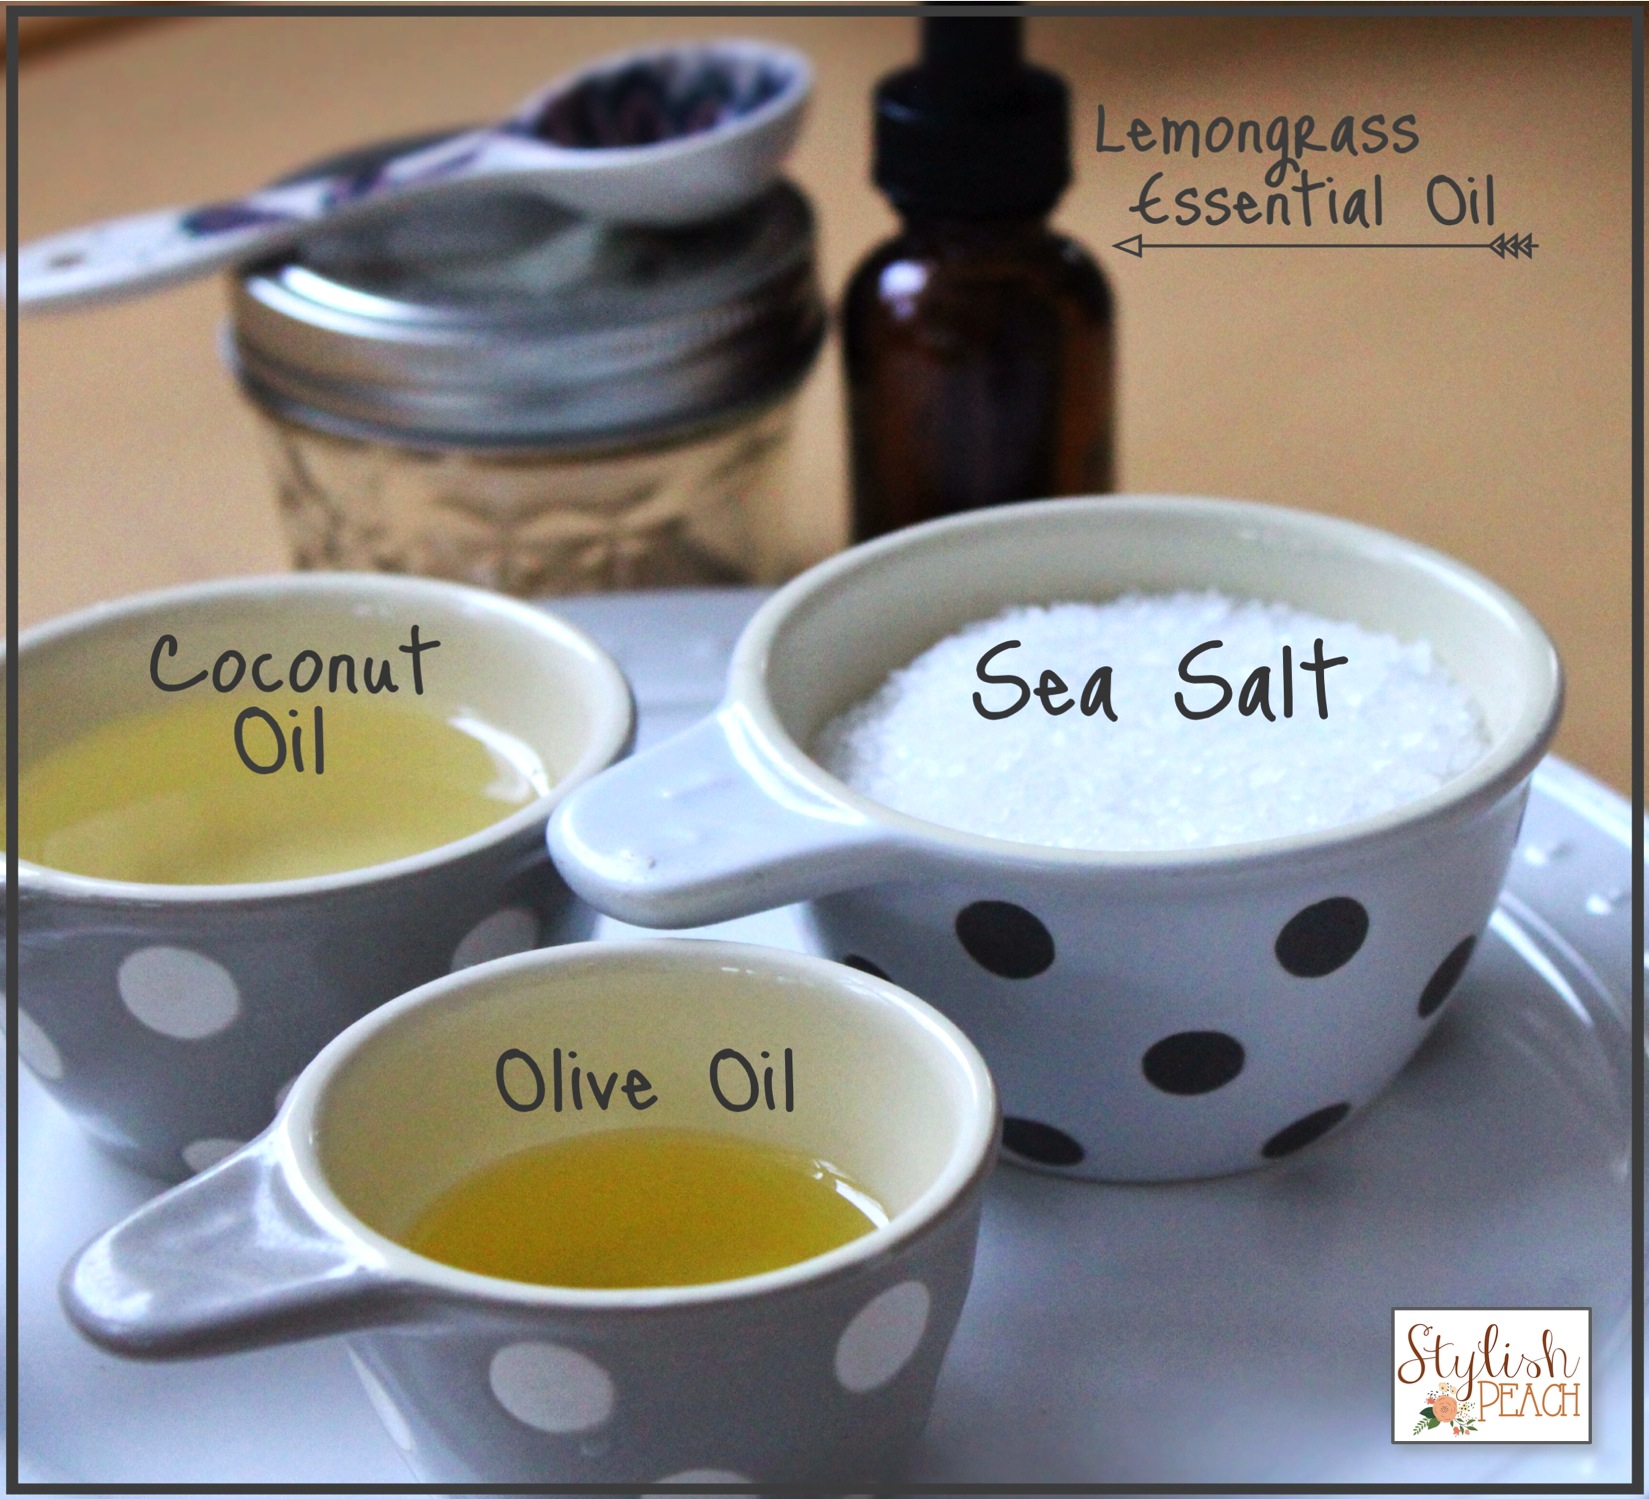
-2/3 Cups Sea Salt- I only had larger granule sea salt so I used my coffee grinder to make a little finer
-6 tablespoons coconut oil melted
-6 tablespoons olive oil
-6-10 drops of lemongrass essential oil (or any essential oil you might have on hand)

Directions:
Place salt in bowl first, then pour melted coconut oil, olive oil and essential oil over salt and mix together.

To Use:
Scoop a small amount on your hands (or body) and rub together. Rinse thoroughly with warm water.

Please note- Once coconut oil has been melted, it can return back to it’s solid form. To prevent your scrub from becoming too solidified, keep away from cooler temps. You may also use fractionated coconut oil which remains in a liquid form naturally.

I chose lemongrass for it’s antiseptic properties but I’m sure this scrub could work with a citrus scent or any other essential oil you might have on hand.


$1 Snow Day Craft- Glitter Vases

try this

This was a fun and easy project I did during our mini-snow storm this week. I already had most of the supplies on hand because I knew I wanted to do a gold and glitter project at some point. I got all supplies from Hobby Lobby. It would be super great if I got paid to shop there — I’d be rich! Anywho, I found these tiny vases for less than $2 a piece and then they were half off, woot! This $1 DIY glitter craft is perfect for a snow day craft.

Here’s what you’ll need:

Assorted Clear Vases
Mod Podge
Fine Glitter
Metallic Spray Paint
Gold Paint Pen (I used Sharpie Oil Based Metallic/Gold Extra Fine Pen)
Sponges (see photo)
Painter’s Tape — or in my case regular masking tape because my painter’s tape was nowhere to be found. Grrrrr.vases2
First, I removed all of the stickers (my least favorite thing to do ever) washed and dried each glass and then used the tape for my designs. I decided on stripes for the tall and skinny vase and half gold for the milk-jug-shaped vase. After taping, I went to a well-ventilated area (outside) to spray paint. I put newspaper down and set both vases face down and sprayed them entirely. I sprayed the vases from at least a foot away because I wanted several light coats instead of one thick coat. This prevents drips from forming.
While they were drying and my baby was sleeping, I started making free-hand dot designs on the short round vase. The paint pen dried really fast. Then I went back outside and sprayed 2 more coats of spray paint for a total of 3 coats on the other vases. Once dry, I carefully removed the tape. Overall, I’m very happy with the turnout.
For the final vase, I used the medium-size round sponge, dipped it in the Mod Podge and free-hand designed dots all over. As I was moving around the vase I sprinkled a generous amount of glitter on the wet circles. Once completed, I wanted the rim to have glitter too for added cuteness. So I took the sponge that had residual Mod Podge and ran it all along the rim. Then I sprinkled more glitter to the glue.
Now all of the vases were dry and complete, I just needed flowers. I went to a local florist and picked random flowers. Voila!
Side Note: Each vase should be sealed in order to last a while. The Mod Podge suggested using a thin, clear glaze of acrylic. I found the painted ones don’t really need it as long as I just hand wash them.
vases 4
vases5
Thanks for checking out this DIY! If you have any questions, feel free to comment.

Mid Century Modern Challenge

I love of all styles of vintage furniture. One of my favorite things to do is go to estate sales or browse Craigslist for old (cheap) pieces that need fixing up. Sometimes furniture only needs new hardware and other times they need a complete overhaul.
Here is one of my first ever furniture redo’s. The original had great bones and I love the overall style of Mid Century Modern pieces. I would have left this piece the way it was if there wasn’t stains and scratches along the top and sides.
                 Mid Mod1
The redo:
I started by removing the drawers and polishing the handles. I sanded the sides and top several times. The drawers were only lightly sanded because they were in great shape.
I painted the outer shell Annie Sloan’s Pure White. Chalk paint doesn’t require pre-sanding but because of the stains and scratches, I wanted to be sure the texture was smooth. Once painted, I didn’t like that you could see brush strokes. Typically this doesn’t matter because shabby chic is so in style, but with a Mid Mod piece, shabby chic doesn’t make sense. So I sanded the white with fine sandpaper so there was no textured look left.
Once sanded, I painted 2 more layers and then sanded again, letting the paint dry in between each layer. In Colorado, the drying time is very minimal — maybe an hour. But some place more humid would require more dry time (and more patience)
Once I decided the texture was perfect, I sealed the paint with Annie Sloan’s Clear Wax, using her wax brush and a cloth to buff. I find you should give your piece of furniture at least 24 hours of “curing time” before bringing it inside. Wax can leave a waxy residue — after all, it is wax. So letting the wax cure is best.
 The drawers and legs were stained in Minwax Dark Walnut, sanded and then stained 3 total times.
Once I finished this piece, I sold it for $300 (purchased it for $40) and the gal uses it as a bedside table. She sent me a picture and it looks darling next to her bed!
midmodfrontviewedited
Here is a before pic:midmodbefore

P.s. If you are unfamiliar with Annie Sloan’s Chalk Paint, it’s a wonderful product to use! I love that she distributes her paint and products to smaller “bricks and mortar” retailers. She believes by selling to smaller stores, there is a better chance for consumers to learn and understand how to use her products better, rather than purchasing from the larger stores.